You have a scene in mind, but the first decision is more basic than choosing a model: should the generator invent from a text prompt, or animate an image you already have? Neither route is automatically better. The right one depends on how much visual direction you can provide and how closely the result needs to match it.
Quick answer
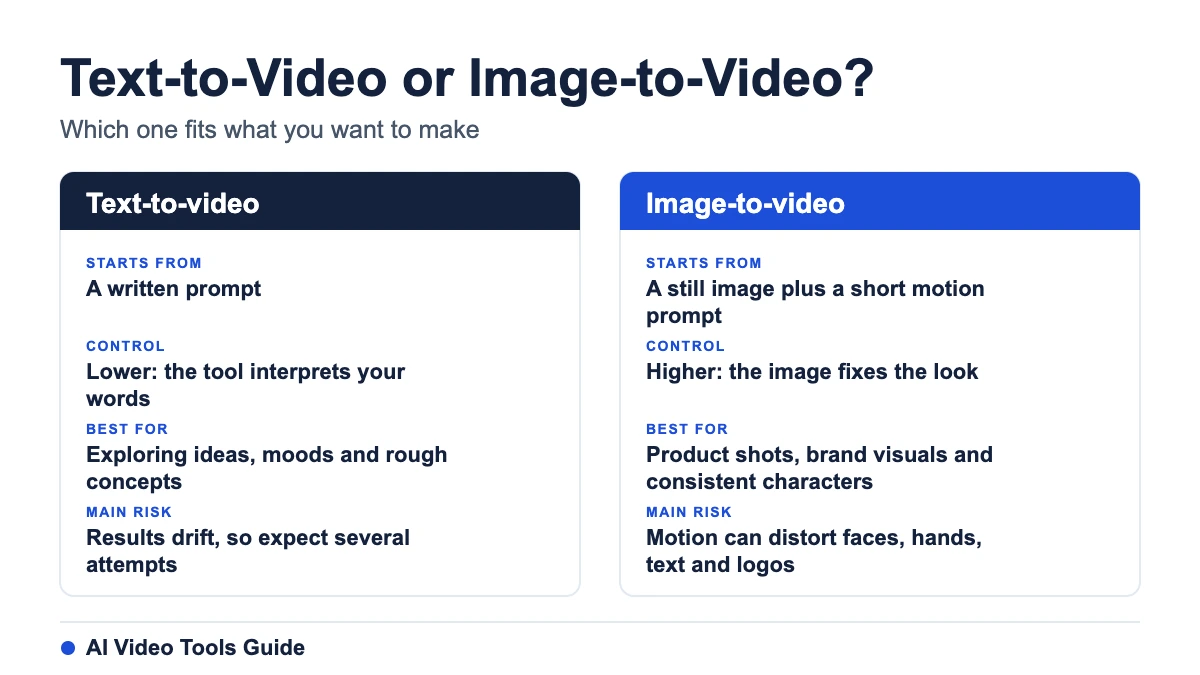
Choose text-to-video when you are still exploring an idea and want the system to suggest the look. Choose image-to-video when you already have a frame that must stay recognisable, such as a product photo, a designed key frame or a location image. Many creators use both: they explore with text, pick the strongest frame, then animate that frame.
What each method actually does
With text-to-video you describe a scene in words. The generator decides the composition, how the subject looks and how it moves. That freedom is useful for exploration, but it also means two runs of the same prompt can look different.
With image-to-video you supply a still image, usually with a short prompt about the motion you want. The generator starts from your frame and animates it. The image sets the composition, colours and subject, so you give up some surprise in exchange for more control.
Exact options, clip lengths and limits differ between tools and change often. Always confirm them on the tool’s official page before you plan a project around them.
Side-by-side comparison
| Question | Text-to-video | Image-to-video |
|---|---|---|
| Starting point | A written prompt | A still image plus a short motion prompt |
| Control over the look | Lower: the generator interprets your words | Higher: the image fixes composition, colour and subject |
| Best for | Exploring ideas, moods and rough concepts | Product shots, brand visuals, characters and locations that must stay consistent |
| Main risk | Results drift from what you pictured, so you may need several attempts | Motion can distort fine details such as faces, hands, text and logos |
| Preparation | Prompt writing | Creating or sourcing a clean image you have the right to use |
| Good first test | One short clip of a simple scene | One strong image with one simple movement |
When text-to-video is the better choice
- You are brainstorming and want several different directions quickly.
- You have no reference image and do not need a specific subject to match.
- The clip is atmosphere or background footage rather than a precise product or character.
- You are comparing how different tools interpret the same prompt.
When image-to-video is the better choice
- You already own a photo or design that must appear in the final clip.
- You need the same subject, colours or layout across several clips.
- You want to animate a simple movement such as a slow push-in, a pan or drifting background.
- You prefer to approve the first frame before spending credits on motion.
Image-to-video is not a guarantee of fidelity. Generators can still alter details while they animate, so always check the first and last seconds of each clip against the source image.
A simple workflow that combines both
- Write a one-sentence brief: who or what is in the clip, what happens and where it will be used.
- Run two or three short text-to-video tests to see how the tool reads your idea.
- Pick the strongest frame, or create or choose a still image that matches your brief.
- Animate that still with image-to-video, describing only the motion, not the whole scene again.
- Review each clip for distorted details, odd motion and anything that looks like a real brand or person.
- Assemble the final video in an editor, then add captions, sound and a quality check. See where AI video editing fits your workflow.
How to write a useful prompt for either method
- Subject: who or what is in the shot.
- Action: one clear movement, not a sequence of five events.
- Setting: where it happens and the time of day.
- Camera: for example a slow pan, a static shot or a close-up.
- Light and mood: soft daylight, warm evening light, calm or energetic.
- Limits: say what to avoid, such as text in the frame, if the tool allows it.
For image-to-video, keep the prompt short and describe only the motion. The image already tells the generator what the scene looks like.
Rights and safety checks before you upload anything
- Upload only images you own or have a licence to use.
- Do not upload photos of identifiable people without their permission.
- Read the tool’s terms on commercial use and on whether your uploads can be used to improve the service.
- Follow the AI-content labelling rules of the platform where you will publish.
Common mistakes
- Judging a method from a single clip instead of a few attempts.
- Using a low-quality or cluttered image and expecting a clean result.
- Asking for too many actions in one short clip.
- Ignoring credit cost per attempt. Our guide to AI video generator pricing, credits and real cost per clip shows how to compare it.
- Publishing without checking for distorted hands, faces, text or logos.
Checklist before you generate
- What is the clip for, and how long does it need to be?
- Do I already have an image that must appear in it?
- Do I own or have a licence for every image I plan to upload?
- How many attempts can my plan or credits afford?
- Does the plan include a watermark? See what each free plan really gives you.
- Who will review the result before it is published?
Frequently asked questions
Which method is cheaper?
It depends on the tool and how many attempts you need. Costs are usually counted in credits or generation limits, and these vary by plan. Compare the real cost per usable clip rather than the headline price.
Which method keeps a character or product more consistent?
Image-to-video gives you a fixed starting frame, which usually helps. It does not guarantee that every detail stays the same through the whole clip, so review the output.
Can I use both in one project?
Yes. A common approach is to explore with text-to-video, choose the best frame, and then animate it with image-to-video.
Do I still need a good prompt for image-to-video?
Yes, but it can be shorter. Describe the movement you want and let the image carry the visual detail.
Are free plans enough to test both?
Sometimes, but free plans often limit credits, resolution or add watermarks. Read the details in our guide to how to evaluate free AI video tools.
Which tool should I use?
We do not name a single best tool for every job. Features and plans change, and we only recommend what we have checked against official sources. See our Kling AI review for an example of how we assess one tool.
Bottom line
Start with text-to-video when you want ideas and surprise. Start with image-to-video when you want control over a frame you already have. If the project matters, combine them, check every clip for artefacts and confirm rights before you publish.
Last updated: 13 November 2026. We explain concepts here and link to official pages for current plan details. See our editorial policy for how we handle facts and corrections.